 Purex find
This article highlights the importance of proper surface preparation before removing wallpaper. It provides step-by-step instructions for the removal process and offers tips for dealing with persistent wallpaper. It also includes instructions for cleaning and preparing the walls after removal.
Are you tired of the outdated wallpaper in your home and ready for a new look? Removing wallpaper can be a daunting task, but with the right preparation, tools, and techniques, it can be a worthwhile project. In this article, we’ll walk you through the wallpaper removal process step-by-step, from basic preparation steps to troubleshooting tips for stubborn wallpaper. By the end, you’ll have the knowledge and skills to successfully remove wallpaper and prepare your walls for a new look. So, let’s start transforming your space!
- 1. Preparation: basic steps before removing wallpaper
- 2. Tools and Materials: What you’ll need to successfully remove wallpaper
- 3. Ways to remove wallpaper: step-by-step instructions
- 4. Dealing with persistent wallpaper: Tips and tricks for troubleshooting
- 5. The final touches: how to clean and prepare the walls for a new look
1. Preparation: basic steps before removing wallpaper
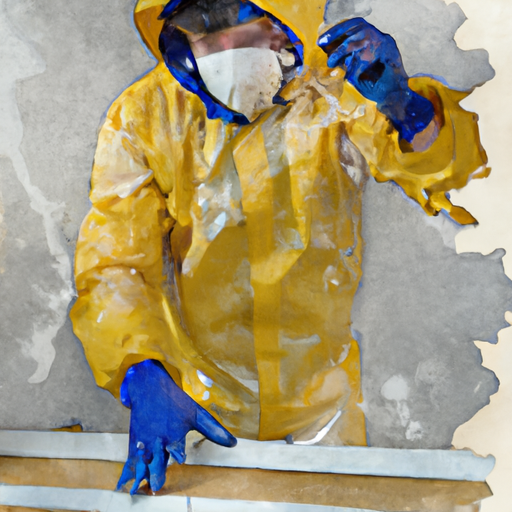
Before you begin removing wallpaper, it’s important to take the necessary preparation steps to ensure a smooth and successful process. By adequately preparing the surface, you can minimize damage to the walls and make the removal process more efficient. Here are some important steps to follow before you start removing wallpaper:
1. Gather the tools and supplies you need: To remove wallpaper effectively, you’ll need a few tools and supplies. This could be a wallpaper cutter, sprayer or sponge, putty knife or scraper, wallpaper removal solution or compound, cloth or plastic sheets to protect your floor, and a ladder or stool if needed.
2. Clean the room: Removing wallpaper can be a messy process, so it’s best to clean the room as much as possible. Remove furniture, lamps and other items from the walls and cover the rest of the furniture with plastic sheets or rags to protect them from dust, water or glue residue.
3. Check Wallpaper: Before proceeding
2. Tools and Materials: What you’ll need to successfully remove wallpaper
In order to successfully remove wallpaper, you will need a few basic tools and materials. Having the right equipment on hand will make the process easier and more efficient. Here are the main items you will need:
1. Wallpaper pin: This tool is used to create small punctures in the wallpaper, allowing the removal solution to penetrate and loosen the adhesive. Blades usually consist of a handle with a series of small rotating blades.
2. Wallpaper Removal Solutions: Various commercial wallpaper removal solutions are available in the market. These solutions help break down the adhesive, making it easier to remove the wallpaper. Alternatively, you can make your own solution by mixing warm water with a little soapy water or vinegar.
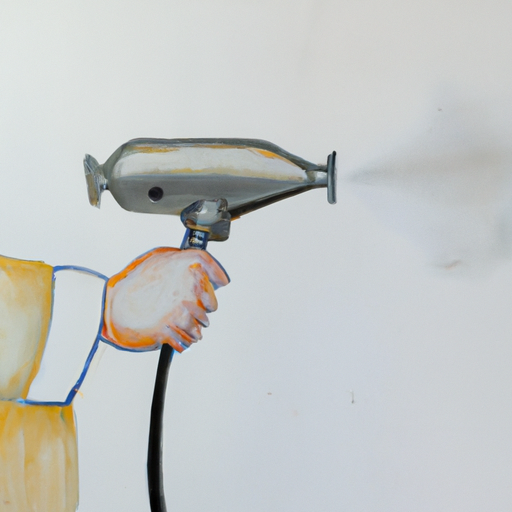
3. Sprayer or sponge: You will need a way to apply the wallpaper remover to the walls. For uniform distribution of the solution, you can use a sprayer with a pump, and for manual application – a sponge.
4. Spatula or scraper: these tools are used
3. Ways to remove wallpaper: step-by-step instructions
Removing wallpaper can be a tedious task, but with the right methods and tools, it can be done effectively. Here’s a step-by-step guide to removing wallpaper effectively:
1. Gather the tools you need: Before you begin, make sure you have all the tools you need. These include a wallpaper cutter, putty knife or scraper, spray bottle or sponge, wallpaper remover or fabric softener, steam cleaner (optional) and a cloth to protect your floor.
2. Prepare the room: remove the furniture and cover the floor with a cloth to prevent any damage or mess. Also, as a precautionary measure, it is advisable to turn off the electricity in the room.
3. Test a small area: Before you start removing all the wallpaper, it is important to test a small area to determine the best method of removal. Use a wallpaper cutter to poke small holes in the wallpaper, then apply a small amount of remover or fabric softener. Wait
4. Dealing with persistent wallpaper: Tips and tricks for troubleshooting
Removing wallpaper can be a difficult task, especially when dealing with permanent wallpaper that appears to be firmly attached to the wall. However, with the right tools and techniques, you can tackle even the toughest wallpaper and get a smooth and clean wall surface. Below are some troubleshooting tips and tricks to help you out.
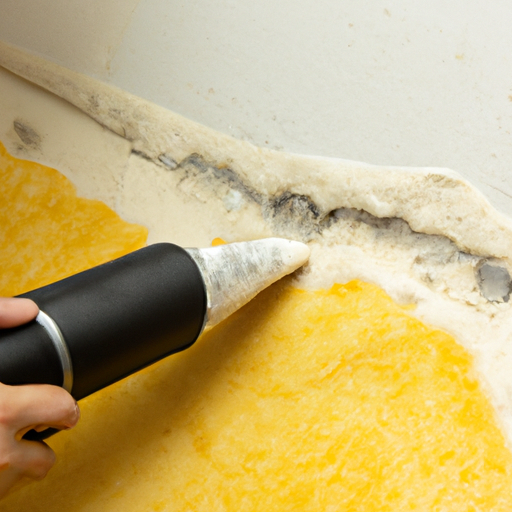
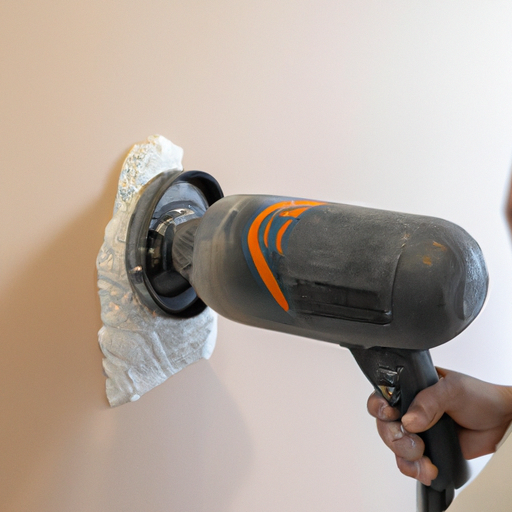
1. Steam: Unwanted wallpapers often require extra effort to remove. One effective method is to use steam to loosen the glue. You can rent a wallpaper steamer from your local hardware store or use a portable steamer. Press the steamer against the wallpaper for a few seconds so that the steam penetrates inside and softens the glue. This will make it easier to peel off the wallpaper.
2. Score the wallpaper: If steaming alone doesn’t help, you can use a score tool to create small holes in the wallpaper. This will allow the steam or any other removal solution to penetrate deeper and help loosen the adhesive. Be careful not to apply
5. The final touches: how to clean and prepare the walls for a new look
Once you have successfully removed the wallpaper, it is important to clean and prepare the walls before applying the new look. Here are some finishing touches to ensure a smooth and flawless surface for your next project:
1. Cleaning the walls: Start by removing dust from the walls. Use a soft brush or vacuum cleaner with a brush attachment to gently remove any residue. For stubborn stains or traces of grease, mix a mild detergent with warm water and gently wipe the affected areas. Rinse the walls with clean water and let them dry completely.
2. Patching Holes and Cracks: Check the walls for holes, cracks or gouges. Use a putty knife to fill in these imperfections with putty or filler paste. Smooth the surface with a trowel and allow it to dry according to the manufacturer’s instructions. Once dry, lightly sand the patched areas to create a flawless finish.
3. Grinding the walls
In summary, removing wallpaper can be a daunting task, but with the right preparation, tools, and techniques, it can be done successfully. By following the step-by-step instructions in this article, you can effectively remove the wallpaper from the walls and prepare them for a new look. Plus, the troubleshooting tips and tricks provided will help you tackle any stubborn wallpaper that may be difficult to remove. Remember to take your time and be patient throughout the process as it may require some effort and persistence. After removing the wallpaper, the final step of cleaning and preparing your walls will ensure a smooth and flawless finish. With these tips and instructions, you can confidently tackle the task of removing wallpaper and transforming your space into something new and beautiful.